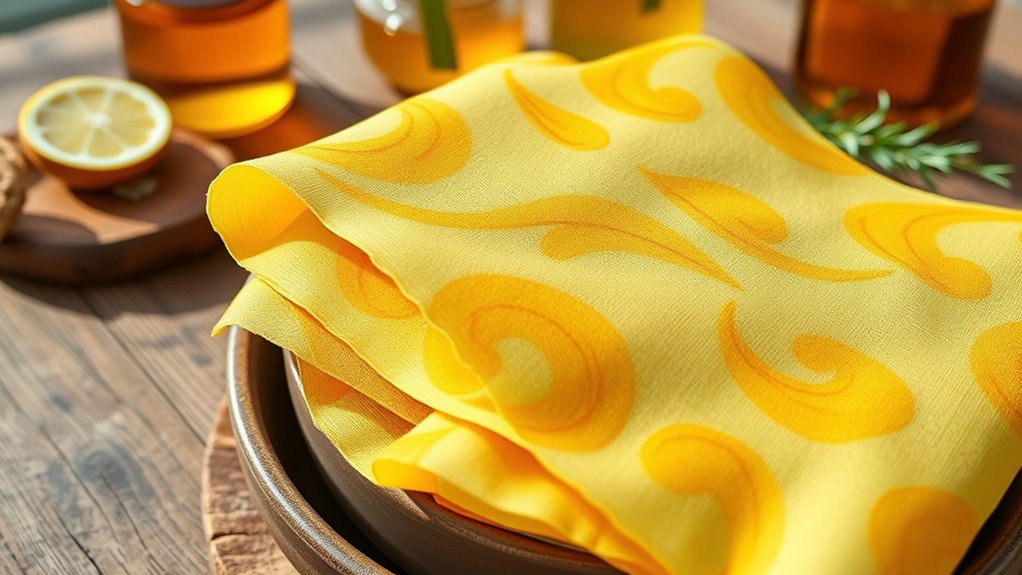

To ditch plastic cling film, you can make your own reusable beeswax wraps using eco-friendly fabrics like cotton or linen. Start by preparing your workspace and cutting the fabric into your desired shape. Melt beeswax and evenly coat the fabric with a brush, then cool and cure the wraps in a cool, dry area. Proper maintenance guarantees they stay flexible and effective for months. Keep exploring to learn detailed steps for perfect results.
Key Takeaways
- Gather eco-friendly fabrics like organic cotton and melt beeswax using a double boiler for even coverage.
- Cut fabric into desired shapes, leaving seam allowances to prevent fraying.
- Apply melted beeswax mixture evenly with a brush, focusing on edges for a good seal.
- Cool wraps at room temperature for 2-5 minutes to set and harden the beeswax coating.
- Store in a cool, dry place, and refresh wraps with cold water and mild soap to extend their lifespan.

Made in USA DIY Pre Mixed Beeswax Wrap KIT- Made with Pine Resin, Beeswax & Jojoba Oil – Beeswax Wraps for Food- Make Your Own 6 Bees Wrap Sheets with 5 ml Pinon Salve for Sticky Fingers Square Shape
Simple & Fun: We are so happy to provide the best beeswax wrap kits( 6 Bars 0.50 oz…
As an affiliate, we earn on qualifying purchases.
As an affiliate, we earn on qualifying purchases.
Gathering Materials and Tools
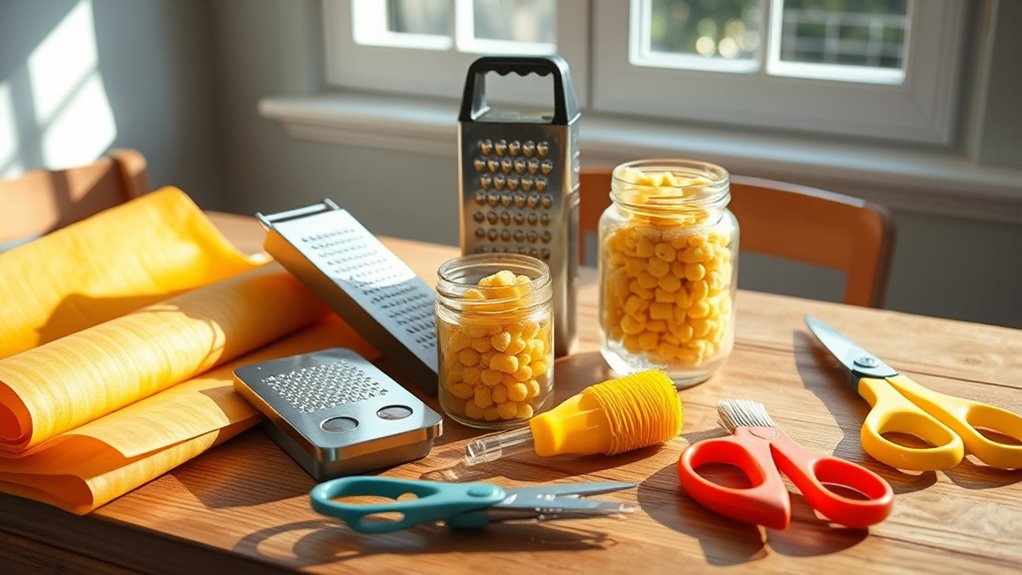
Before you begin making your beeswax wraps, it’s important to gather all the necessary materials and tools. You’ll need eco friendly materials like organic cotton or linen fabric, which serve as the base for your sustainable packaging. Beeswax pellets or blocks are essential for creating the wrap’s waterproof layer, and you might also want jojoba oil or tree resin to improve flexibility and durability. A paintbrush or sponge will help you evenly distribute the beeswax mixture onto your fabric. A double boiler or a heat-safe bowl set over boiling water ensures safe melting. Additionally, understanding the color accuracy of your project materials can help ensure your wraps have a consistent appearance and optimal performance. Ensuring your workspace is well-organized can also boost your productivity during the crafting process. Incorporating proper temperature control can prevent overheating of the beeswax and ensure a smooth application. Proper material selection can also influence the overall effectiveness and eco-friendliness of your beeswax wraps. Finally, scissors and parchment paper will help you cut your wraps to size and prevent sticking during the application process. Gathering these supplies beforehand makes your DIY project smooth and eco-conscious.
Bee's Wrap Beeswax Wraps for Food – Cut to Size 14×52" Beeswax Wrap Roll – Made in USA Reusable Natural Food Wrap – Honeycomb
REUSABLE BEESWAX WRAPS FOR FOOD made from beeswax, organic plant oils, and natural tree resin in a large…
As an affiliate, we earn on qualifying purchases.
As an affiliate, we earn on qualifying purchases.
Preparing Your Workspace

Setting up your workspace properly guarantees your beeswax wrap project goes smoothly. Start by organizing your workspace to keep all materials and tools within easy reach. Clear clutter to prevent accidents and ensure safety precautions are in place, like working in a well-ventilated area and wearing protective gloves if needed. Use a flat, heat-resistant surface for melting beeswax and handling hot tools. Keep a clean, dedicated space for fabric preparation, away from distractions. Proper workspace organization helps you work efficiently and reduces the risk of spills or injuries. Remember to keep a fire extinguisher nearby if you’re working with heat sources. Taking these safety precautions and organizing your workspace beforehand will make your DIY beeswax wraps project enjoyable and safe.
Made in USA DIY Pre Mixed Beeswax Wrap KIT- Made with Pine Resin, Beeswax & Jojoba Oil – Beeswax Wraps for Food- Make Your Own 6 Bees Wrap Sheets with 5 ml Pinon Salve for Sticky Fingers Square Shape
Simple & Fun: We are so happy to provide the best beeswax wrap kits( 6 Bars 0.50 oz…
As an affiliate, we earn on qualifying purchases.
As an affiliate, we earn on qualifying purchases.
Cutting and Shaping the Fabric
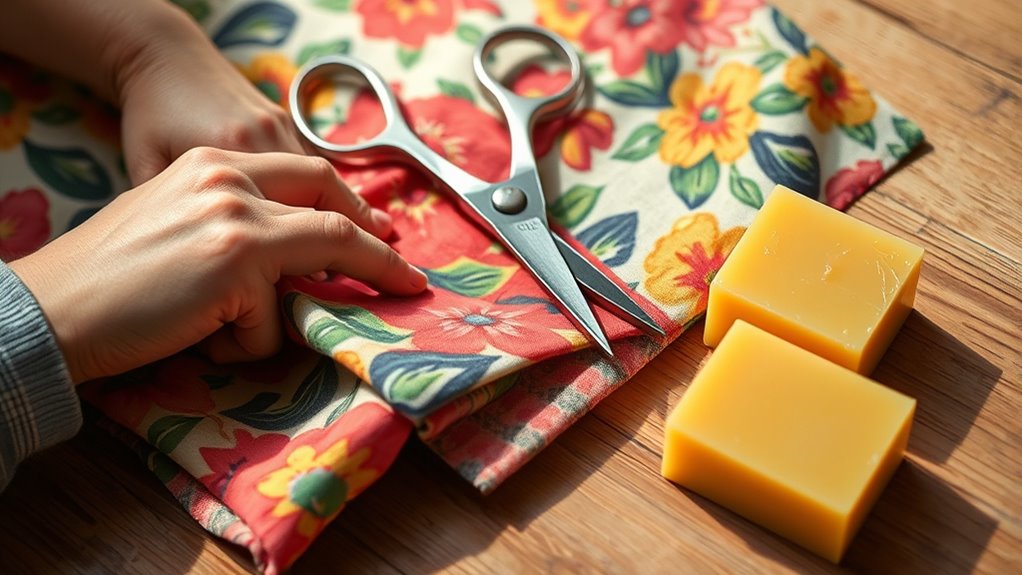
When cutting your fabric, use sharp scissors and follow a consistent shape to make certain even coverage. Shaping the wraps helps them fit different containers snugly and store easily. Pay attention to how the fabric is cut and shaped for the best results and durability. Proper fabric handling techniques can also contribute to a more seamless and effective wrapping process. Additionally, proper heat application can enhance the effectiveness and longevity of your beeswax wraps. Using the right exfoliation methods can also help prepare your skin, especially in areas like the scalp or underarms, to better absorb treatments and maintain smooth, healthy skin.
Fabric Cutting Techniques
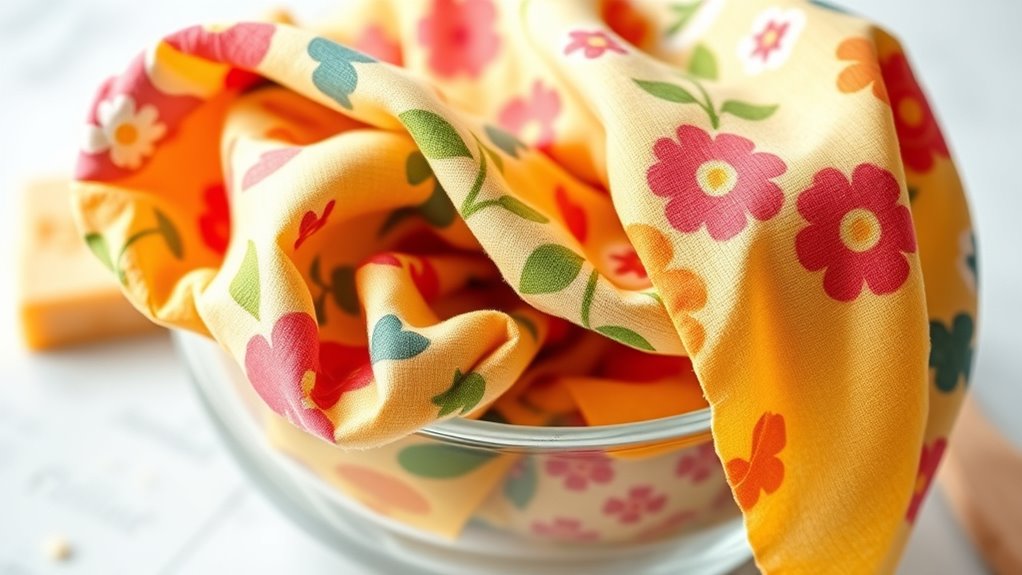
To create effective beeswax wraps, precise fabric cutting is essential. Start by inspecting the fabric grain, ensuring your scissors follow the lengthwise direction for better durability and ease of wrapping. To maintain consistency, use a ruler or straight edge for clean, straight cuts. Remember to include a seam allowance, typically about 1/4 inch, to prevent fraying and allow for secure edges when sealing the wraps. Avoid stretching the fabric while cutting, as this can distort its shape. If you’re making multiple wraps, cut all pieces at once for uniformity. Take your time to ensure each piece is accurately shaped, which will make the wrapping process smoother and result in a more professional finish.
Shaping for Storage
Have you considered how the shape of your beeswax wraps impacts storage? Proper shaping guarantees they fit neatly in your fridge or drawer. Think about clothing design principles—smooth, rounded edges help wraps fold easily without tearing. Use scissors or a rotary cutter to cut your fabric into practical sizes, like squares or circles, based on what you’ll store. If you’ve dyed your fabric, make sure the shapes complement the design, highlighting any fabric dyeing effects. Shaping also affects how well the wax adheres and how durable the wraps are. For storage, opt for compact, versatile shapes—smaller for produce, larger for bowls—making them easier to stack or hang. Correct shaping results in wraps that are both functional and easy to stow away. Additionally, considering the dog breed when choosing shapes can make the wraps more tailored to your storage needs.
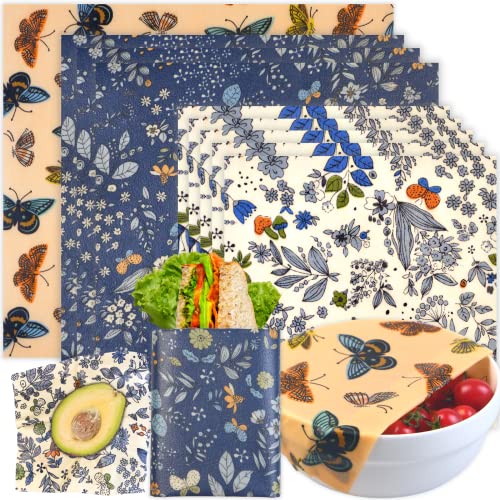
Reusable Beeswax Wrap – 9 Pack Beeswax Wraps for Food, Eco-Friendly Beeswax Food Wraps, Bread Sandwich Wrapper – Organic, Sustainable, Zero Waste, Reusable Plastic-Free Food Storage Wrap, 1XL, 3M, 5S
【NATURAL ECO-FRIENDLY INGREDIENTS】: Our Reusable Beeswax Wrap are made from Organic cotton, Organic jojoba oil, Natural Harvest beeswax,…
As an affiliate, we earn on qualifying purchases.
As an affiliate, we earn on qualifying purchases.
Applying Beeswax Mixture

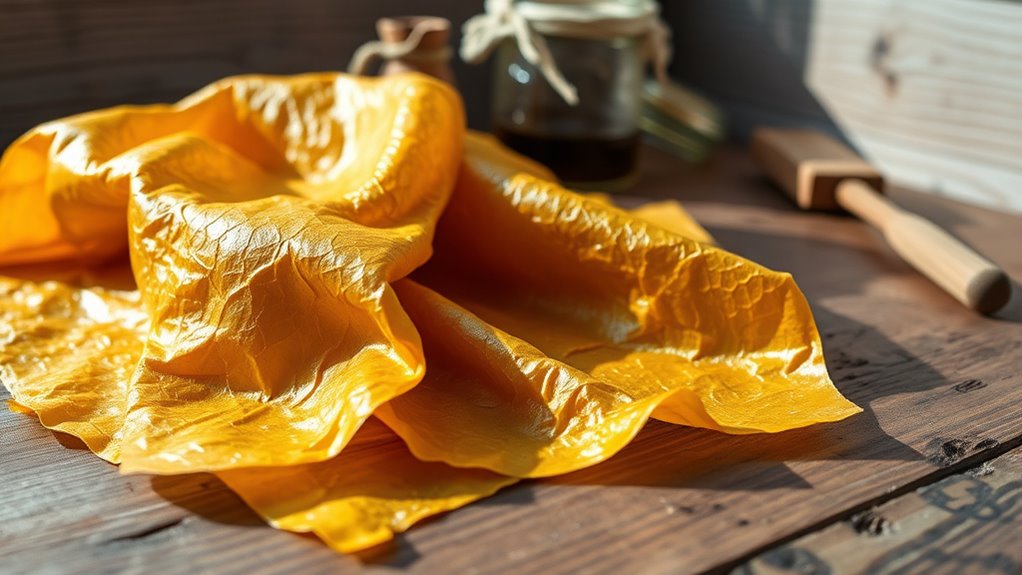
Warm your beeswax mixture until it’s just melted, making it easier to spread. Lay your fabric flat and carefully cover it with the warm mixture, ensuring even coverage. Let the wraps set and cool completely before using them to keep your food fresh. This process creates a lasting bond that ensures your wraps are durable and effective. Proper application of the mixture is crucial for creating a seamless barrier that maintains freshness and prevents leaks.
Warm Beeswax Mixture
Once your beeswax mixture is prepared and warmed slightly, it’s time to apply it to the fabric. The beeswax consistency should be smooth and pourable but not hot enough to scorch the fabric. Use gentle warming techniques, like placing the mixture in a double boiler or microwaving in short bursts, to maintain even heat. Stir frequently to ensure the beeswax melts uniformly. When ready, pour a small amount of the warm mixture onto the fabric. Spread it quickly and evenly using a brush or a piece of parchment paper, covering all areas you want sealed. Keep the heat moderate to prevent the beeswax from solidifying too fast. Proper warming guarantees a smooth, even coat, making your wraps flexible and effective. Maintaining optimal temperature is crucial for achieving the best results in beeswax application.
Properly Cover Items
After your beeswax mixture is warmed and ready, you can begin applying it to your chosen fabric. Use a paintbrush or your fingers to evenly spread the mixture, ensuring all areas are coated. Focus on the edges to help create a good seal around your items. This step is essential for food safety, as it prevents contamination and keeps your food fresh without relying on plastic. Cover bowls, cheese, or cut produce with the fabric, molding it gently with your hands. Applying the beeswax mixture in this way is an eco friendly practice that reduces waste and minimizes plastic use. Make sure the coating is smooth and even for effective coverage, ensuring your wraps are both functional and safe for food storage.
Allow to Set
To guarantee your beeswax wraps set properly, place the coated fabric on a flat, protected surface and let it cool at room temperature. The setting time depends on environmental factors like room temperature and airflow. Typically, it takes about 2 to 5 minutes for the wax to harden. During this period, avoid moving the wraps to prevent uneven setting. For best results, keep the room well-ventilated but not drafty, as rapid cooling can cause cracks. Use the table below to understand how environmental factors influence the setting process:
| Environmental Factor | Effect on Setting Time |
|---|---|
| Room Temperature | Higher temps speed up setting |
| Airflow | Increased airflow accelerates cooling |
| Humidity | High humidity may delay setting |
| Surface Material | Non-porous surfaces promote even cooling |
| Wrap Thickness | Thinner layers set faster |
Additionally, understanding how data management plays a role in blockchain technology can help appreciate the importance of proper setting conditions for consistent results. Proper storage conditions after setting are also essential to maintain the wraps’ flexibility and effectiveness over time, especially since air quality can influence the longevity of beeswax wraps.
Curing and Storing Your Wraps
Curing and storing your beeswax wraps properly guarantees they last longer and maintain their effectiveness. After applying the beeswax, give the wraps time to set by hanging or laying them flat in a cool, dry area for a few hours. During this period, the beeswax scent will develop, enhancing the wrap’s natural aroma. To maximize wrap longevity, store your wraps in a breathable container or drawer, avoiding airtight spaces that trap moisture. Keep them away from direct sunlight, which can cause the beeswax to melt or warp. Proper curing ensures the wax adheres well and stays flexible, while correct storage prevents premature wear. Additionally, using proper ventilation during curing can help the wax set evenly and reduce any residual odor. Incorporating proper sound design techniques into your routine can also help you create a calming environment while working on your wraps. With these steps, your beeswax wraps will stay fresh, effective, and aromatic for many uses.
Tips for Using and Maintaining Beeswax Wraps
Using beeswax wraps effectively involves a few simple tips to keep them in good condition. To maximize their shelf life, avoid exposing wraps to heat sources like hot water or direct sunlight, which can cause the wax to melt or degrade. When storing, fold wraps neatly and keep them in a cool, dry place to prevent odor buildup. For odor control, periodically refresh your wraps by rinsing with cold water and mild soap, then air drying. Refrain from using wraps for raw meat or oily foods, as these can shorten their lifespan and cause lingering smells. With proper care, your beeswax wraps stay flexible, fresh, and effective, helping you reduce plastic waste while maintaining their functionality for months.
Frequently Asked Questions
How Long Do Homemade Beeswax Wraps Typically Last?
You might wonder about your homemade beeswax wraps’ wrap longevity. Typically, they last around a year with proper care. To extend their life, you should reapply wax when they start losing stickiness. Regular wax reapplication keeps them effective and helps prevent tears. Proper cleaning and storing also boost their durability. With these tips, your wraps can serve you well, making them a sustainable alternative to plastic cling film.
Can I Reuse Beeswax Wraps for Hot Foods?
Imagine your beeswax wraps, unexpectedly, touching hot foods—probably not a good idea. You shouldn’t reuse beeswax wraps for hot foods because it compromises food safety and the wraps’ integrity. High temperatures can melt the wax, reducing their effectiveness and increasing waste. For environmental impact and safety, reserve wraps for cool or room temperature foods. Always check for tears or wax loss before reuse to keep your eco-friendly habits safe and sustainable.
Are Beeswax Wraps Safe for Storing Raw Meat?
You shouldn’t use beeswax wraps for raw meat because it raises food safety concerns. Raw meat can leak juices that may harbor bacteria, which beeswax wraps can’t fully contain or sanitize. While they’re eco-friendly alternatives to plastic, they’re best suited for covering fruits, bread, or cheese. To keep your food safe, use dedicated containers for raw meats, and reserve beeswax wraps for other storage needs.
How Do I Remove Stains From Beeswax Wraps?
To remove stains from your beeswax wraps, start by gently wiping the stained area with a mixture of mild soap and cool water. Avoid hot water, as it can melt the wax. For tougher stains, you can use a soft brush or cloth to gently clean the surface. Remember, proper cleaning methods help maintain your wraps for food preservation while preventing stains from impacting their effectiveness and longevity.
Can I Decorate Beeswax Wraps With Patterns or Dyes?
Think of beeswax wraps as a blank canvas waiting for your creativity. Yes, you can add patterns or dyes to customize your wrap, making it uniquely yours. For beeswax design and wrap customization, use natural dyes or fabric markers that won’t harm the beeswax. Just be gentle, as excessive moisture or harsh chemicals can affect the wax’s stickiness. Your wraps will become functional art, perfectly suited to your style.
Conclusion
Now that you’ve learned how to make your own beeswax wraps, aren’t you ready to ditch plastic cling film for good? With just a few simple steps, you can create eco-friendly wraps that are both practical and sustainable. Imagine the positive impact on the environment—and your kitchen. Why not start today and enjoy the satisfaction of crafting something useful and green? Your homemade wraps are just the beginning of a more mindful lifestyle.