
To get sharp, vibrant images with your ultra short throw projector, proper placement is key. Make sure it’s installed at the right distance—usually 12-24 inches from the wall—and align the tilt downward carefully. Avoid common mistakes like ignoring ambient light or choosing the wrong screen size. Small misalignments can cause blurriness or distortion, ruining your view. If you want to learn how to perfect your setup and avoid these pitfalls, keep exploring these tips.
Key Takeaways
- Proper projector placement, including distance and height, is crucial to maintaining sharpness and image clarity.
- Mount the projector correctly, ensuring it is aligned and tilted slightly downward for optimal focus.
- Avoid placing the projector too close or too far from the wall, as this can cause distortion or blurriness.
- Controlling ambient lighting prevents glare and contrast loss, preserving image sharpness.
- Regular calibration of focus, lens alignment, and color settings sustains sharpness over time.
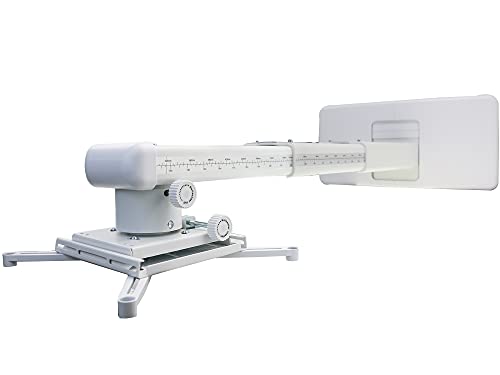
NC Projector Wall Mount with Universal mounting ,Telescopic Bracket Hanger,33lbs Load Capacity,High-Precision Adjustable: (12.8’’-29.13’’),white,(TYYZJ02)
ultra Short Throw Projection,Most sturdy of all, great fine tune knobs, best manual (very very detailed),It has the…
As an affiliate, we earn on qualifying purchases.
As an affiliate, we earn on qualifying purchases.
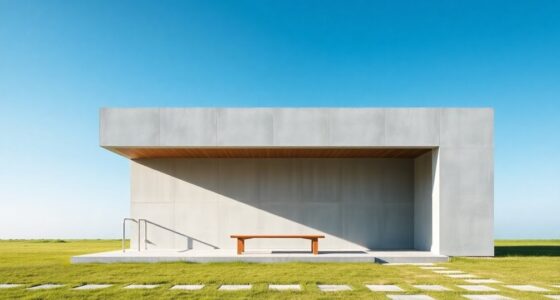
Why Placement Matters for Ultra Short Throw Projectors

The placement of your ultra short throw projector is essential because it directly affects the image quality and overall viewing experience. One key factor is mounting height; position it too high or too low, and your image could become distorted or blurry. Ideally, mount it at a height that aligns with your screen or wall, ensuring a seamless picture. Wall color also plays a critical role; light-colored or textured walls can interfere with image sharpness and vibrancy, while darker, matte walls enhance contrast and clarity. Proper placement minimizes shadows and glare, making your viewing experience more immersive. Additionally, astrological compatibility may influence your choices in creating a comfortable viewing environment. Take your time to find the right mounting height and wall surface to maximize image sharpness and color richness. Proper setup guarantees a crisp, vibrant display every time. Furthermore, understanding digital concepts can further enhance your setup and viewing experience. Notably, utilizing educational resources can help you optimize your projector’s performance and ensure it continues to deliver optimal performance. Also, consider the importance of cabling solutions, as they can significantly affect the quality of the signal being sent to your projector.

NothingProjector ALR Screen for Ultra Short Throw Projector, 85% Ambient Ceiling Light Rejecting, 100 inch, 4K/8K UHD, Active 3D, Fixed Frame 16:9, Wall Mount Anti Daylight UST, Classic Series NothPJ
【85% Ambient Light Rejection】Engineered for bright rooms, this screen uses advanced PET Crystal technology to reject up to…
As an affiliate, we earn on qualifying purchases.
As an affiliate, we earn on qualifying purchases.
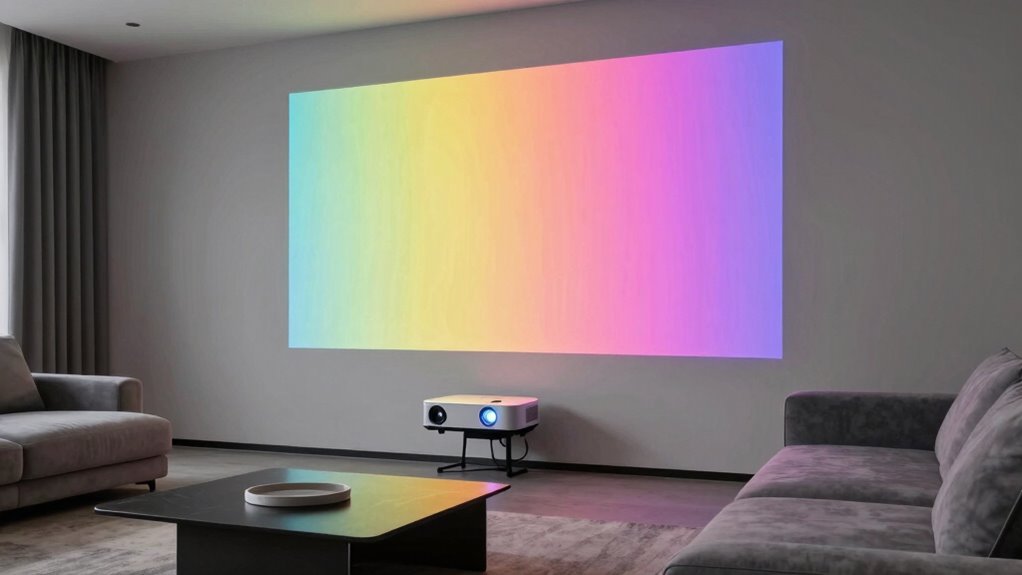
Ideal Distance and Angle for Sharp, Vibrant Images
Maintaining the right distance and angle for your ultra short throw projector guarantees sharp, vibrant images. Position it close to the wall, typically 12-24 inches, to assure consistent brightness and color accuracy. Tilt it slightly downward for ideal alignment, reducing distortion and enhancing image clarity. Proper placement minimizes color shifts and brightness inconsistencies across the screen, giving you vibrant visuals. Use the table below as a quick reference:
| Distance (inches) | Angle (degrees) | Effect |
|---|---|---|
| 12-18 | 0-5 | Sharp, vibrant images |
| 18-24 | 0-10 | Brightness & color accuracy |
| 24+ | >10 | Risk of distortion |
Keep your projector within these parameters for the best viewing experience.
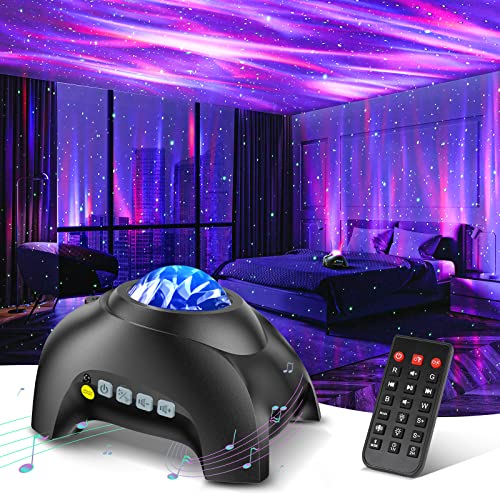
Northern Galaxy Light Aurora Projector with 33 Light Effects, Night Lights LED Star Projector for Bedroom Nebula Lamp, Remote Control, White Noises, Bluetooth Speaker for Parties Black
🏡【𝐔𝐩𝐠𝐫𝐚𝐝𝐞𝐝 𝟑-𝐢𝐧-𝟏 𝐆𝐚𝐥𝐚𝐱𝐲 𝐏𝐫𝐨𝐣𝐞𝐜𝐭𝐨𝐫】Watch the splendid aurora views without chasing around or hiking far away, turning your home…
As an affiliate, we earn on qualifying purchases.
As an affiliate, we earn on qualifying purchases.
Common Placement Mistakes and How to Avoid Them
Sure! Here’s your revised content with the requested changes:
—
Even experienced users can make common placement mistakes that affect image quality. One mistake is ignoring ambient lighting, which can wash out your image if the room isn’t properly controlled. Another is placing the projector too close or too far from the screen, impacting sharpness and screen size. Lastly, failing to consider the ideal screen size for your space can lead to discomfort or image distortion. To avoid these issues:
- Keep ambient lighting in check to prevent glare and loss of contrast.
- Position the projector at the recommended distance to optimize screen size and sharpness, ensuring that the high refresh rates are fully utilized during gaming. This helps in achieving a more immersive experience with engaging narratives that capture attention.
- Choose a screen size that fits your room and viewing distance comfortably.
Incorporating high-quality kitchen gear can also enhance your overall viewing experience by ensuring a comfortable environment. Being mindful of these mistakes ensures your ultra short throw projector delivers the clearest images possible.
—
Let me know if you need any further adjustments!

DSLRKIT Lens Focus Calibration Tool Alignment Ruler Folding Card(Pack of 2)
This compact ruler allows you to determine if your lens is auto-focusing accurately as it should. It is…
As an affiliate, we earn on qualifying purchases.
As an affiliate, we earn on qualifying purchases.
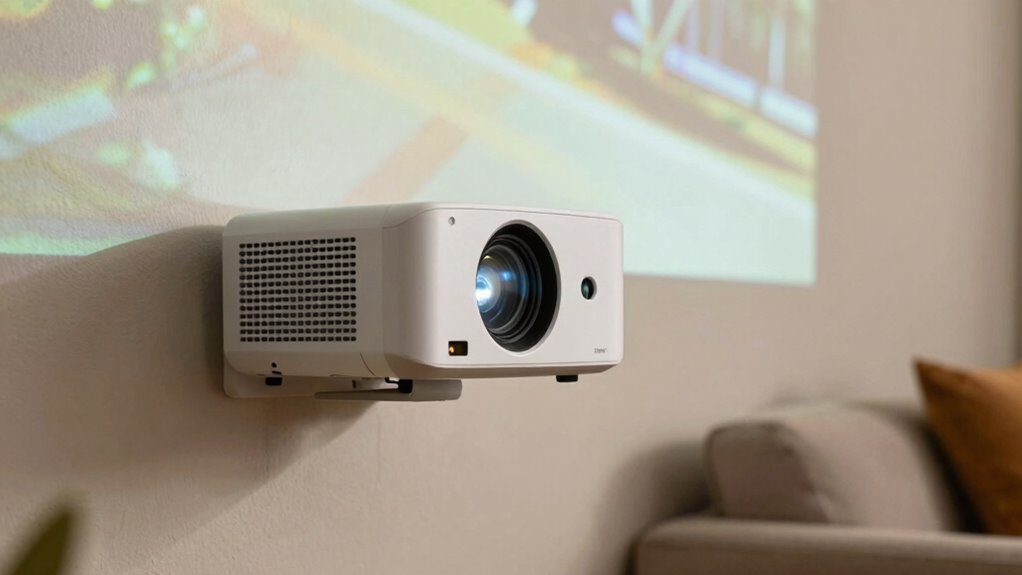
Tools and Tips for Perfect Ultra Short Throw Projector Setup
Setting up your ultra short throw projector for ideal picture quality requires the right tools and careful attention to detail. Start with a quality color calibration tool to guarantee accurate colors and avoid dull or oversaturated images. Adjust the projector’s settings to match your room’s lighting conditions for best results. Choosing the correct screen size is vital—measure your space to confirm the projected image fits perfectly without distortion or loss of sharpness. Use a level or alignment tool to position the projector precisely, preventing skewed images. Keep in mind that proper focus adjustment is necessary for crisp visuals. Regularly revisit calibration and alignment to maintain picture quality, especially if you move the projector or change the environment. These tools and tips will help you achieve a sharp, vibrant display.
How to Fix Sharpness Problems After Installation
Sharpness issues after installation are common but often easy to fix with a few adjustments. First, check your projector’s focus and lens alignment. If the image remains blurry, adjust the focus ring until sharpness improves. Next, verify your screen has proper tension; slack or sagging can distort the image, reducing clarity. Tighten or re-tension the screen if needed. Finally, perform a thorough color calibration; incorrect color settings can affect perceived sharpness. Use your projector’s menu or calibration tools to fine-tune contrast and color balance.
- Adjust the focus and lens alignment for crispness
- Tighten or re-tension the screen to eliminate distortion
- Fine-tune color calibration to enhance image clarity
Frequently Asked Questions
Can Wall Color Affect the Projector’s Sharpness?
Yes, wall color can affect your projector’s sharpness. A dark or matte wall color minimizes light reflections, improving image clarity and color accuracy, while bright or glossy walls reflect more light, causing glare and reducing sharpness. The color impact is significant because choosing the right wall color enhances the projected image, making it crisper and more vibrant. So, opt for neutral, matte shades to get the best picture quality.
Does Ambient Light Impact Image Clarity More Than Placement?
Think of ambient light as a fog that blurs your view; it impacts image clarity more than placement if unchecked. While placement considerations are essential for sharpness, too much ambient light can wash out your picture regardless of how perfect your projector’s position is. You need to control ambient light—use blackout curtains or dim switches—to truly see crisp, vibrant images. Proper placement helps, but lighting is the key to clarity.
Are There Specific Screen Types That Improve Sharpness?
Yes, choosing the right screen material and size can substantially improve sharpness. You should opt for a high-quality, matte or semi-gloss screen designed for ultra short throw projectors, which reduces glare and enhances clarity. Additionally, selecting a screen size that matches your room’s viewing distance ensures sharp images without pixelation. Proper screen material and size help you enjoy crisp, vibrant visuals, even in bright or ambient-light conditions.
How Does Projector Lens Quality Influence Image Sharpness?
You’ll notice that high-quality projector lenses considerably boost image sharpness. Better lenses have a wider lens aperture, allowing more light to pass through, which results in clearer, brighter images. Additionally, advanced optical coatings reduce glare and internal reflections, enhancing contrast and detail. When choosing a projector, prioritize lenses with superior aperture sizes and coatings, as these features directly improve sharpness, making your viewing experience crisp and vibrant.
Is It Better to Calibrate the Projector Before or After Installation?
You should calibrate your projector after installation, once you’ve adjusted for the correct projection distance and mounting height. Calibration guarantees ideal sharpness and image quality, which can be affected by slight variations in placement. By calibrating post-installation, you can fine-tune settings to match your setup precisely, avoiding blurry images or distortion caused by incorrect projection distance or mounting height. This step guarantees a sharper, clearer picture.
Conclusion
Think of your projector as a delicate brushstroke—its clarity depends on precise placement. When you position it correctly, you’re painting a vivid masterpiece on your wall, full of sharp details and vibrant colors. Avoid common mistakes like improper distance or angles, and use the right tools to fine-tune your setup. With patience and care, your home theater will become a canvas where picture perfection brings your entertainment dreams to life.