
To look clear without turning your room into a studio, prioritize good lighting by using natural light near windows or affordable softbox DIY solutions with household items. Position your webcam at eye level for balanced framing and adjust focus and exposure settings for sharp images. Keep your background simple and organized to avoid distractions. Regularly review your setup and tweak lighting or camera settings as needed. Continue exploring for more tips to boost your video quality effortlessly.
Key Takeaways
- Use natural daylight by positioning your webcam near windows, facing the light for even, flattering illumination.
- Incorporate affordable DIY diffusers or reflectors to soften shadows without professional studio equipment.
- Adjust your webcam’s exposure, brightness, and sharpness settings for clear, well-balanced images.
- Opt for simple, clutter-free backgrounds with neutral colors and minimal decor to avoid distractions.
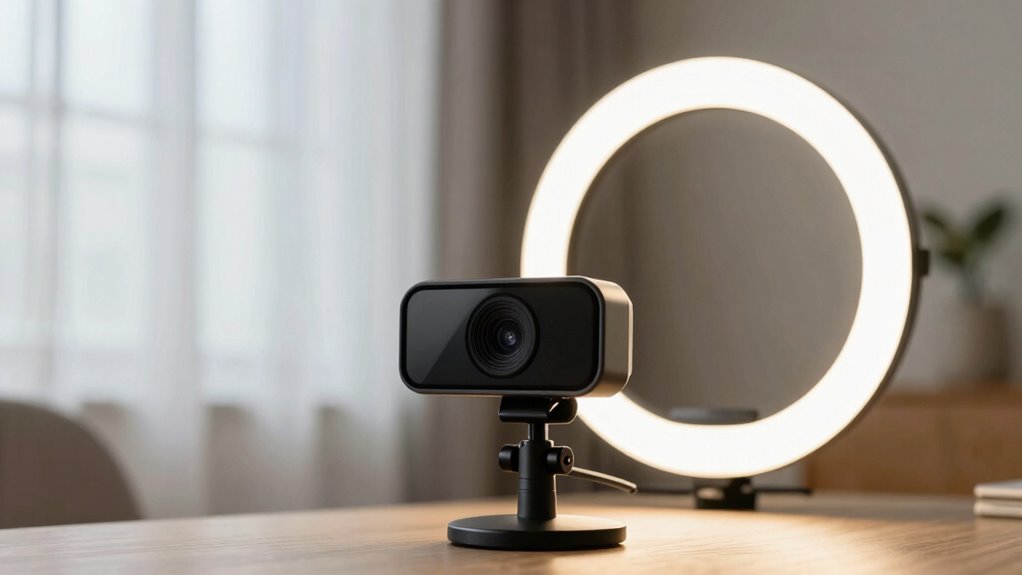
- Use soft, indirect lighting like ring lights or clip-on LEDs at a 45-degree angle to enhance clarity and reduce shadows.

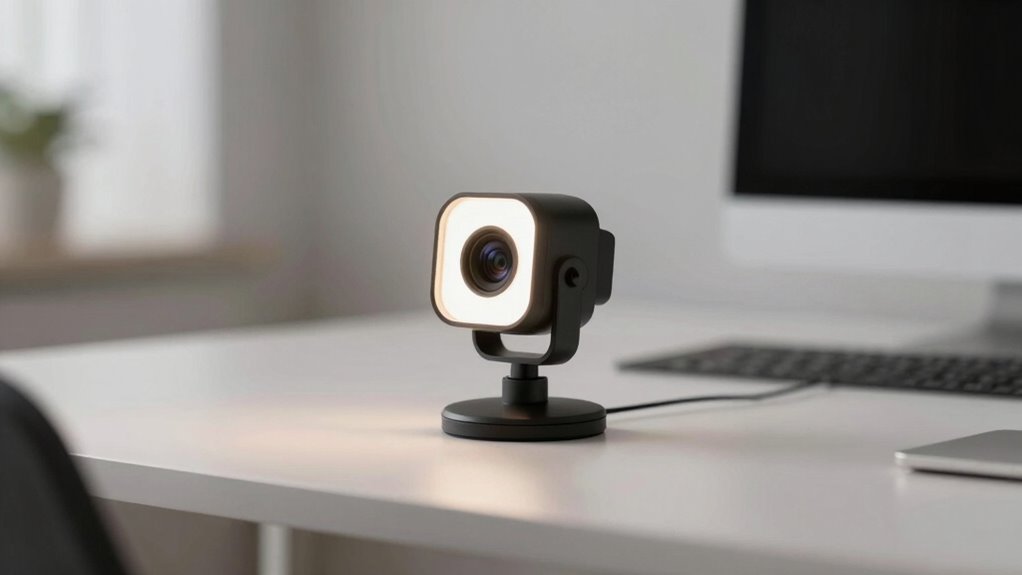
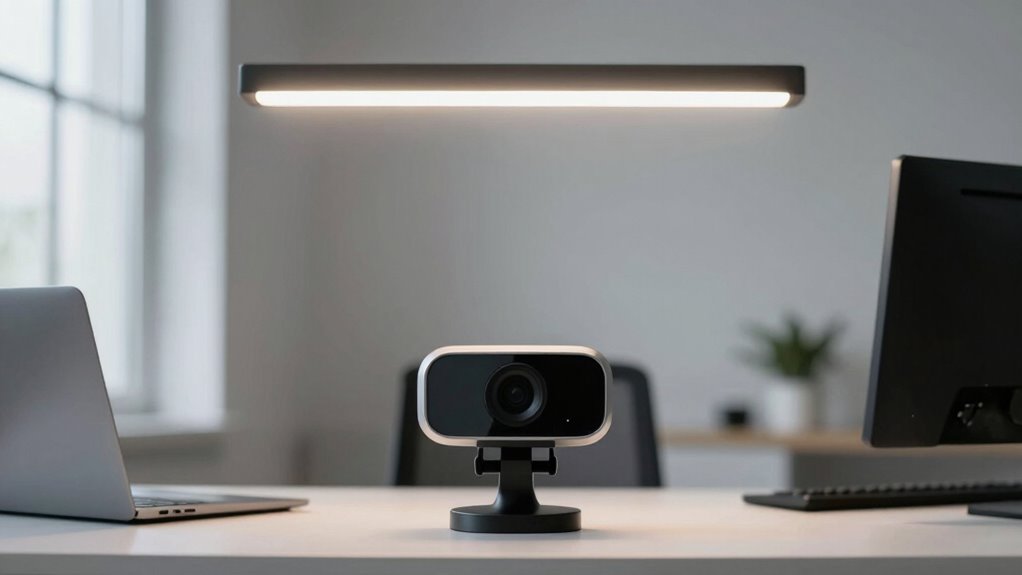
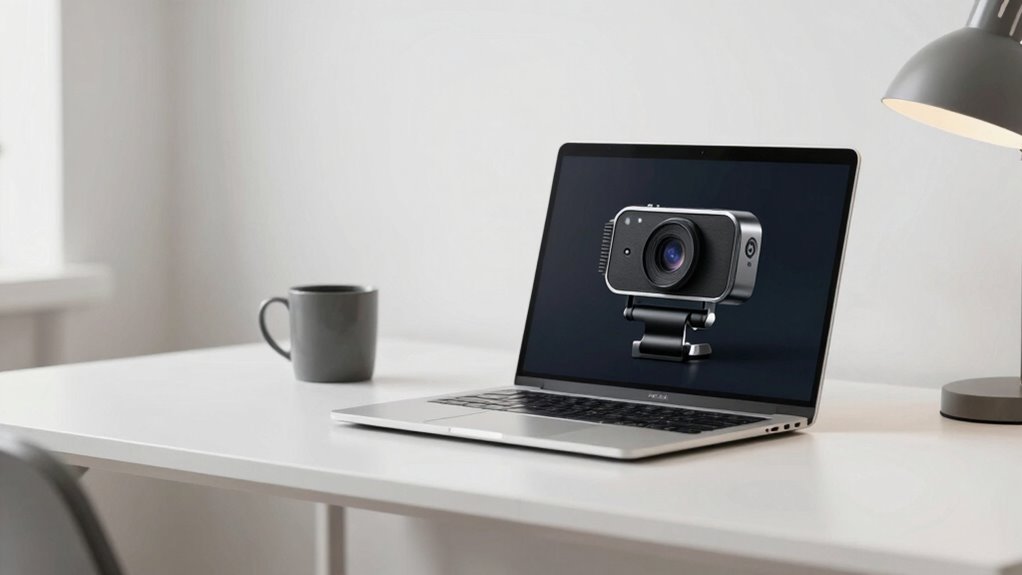
4K Webcam for PC Computer PDAF Autofocus with Built-in Microphone Windows
【Ultra HD 4K Image Quality】Boasting 4K crystal-clear resolution with 8 million pixels (3840*2160P), this webcam 4K is equipped…
As an affiliate, we earn on qualifying purchases.
As an affiliate, we earn on qualifying purchases.
Why Clear Video and Good Lighting Boost Your Professional Presence
Clear video and good lighting are essential because they directly influence how others perceive your professionalism. When your video has sharp clarity and balanced lighting, it’s easier for viewers to focus on what you’re saying, not on distracting shadows or poor image quality. Proper lighting also enhances color grading, making your skin tone look natural and your surroundings more vibrant. This creates a polished, credible appearance. Additionally, good lighting can improve your audio quality indirectly by reducing shadows and glare, which can help you stay focused and confident during calls. When combined, clear video and well-managed lighting help convey competence and reliability, making a strong impression on colleagues, clients, or collaborators. Furthermore, investing in a quality battery inverter generator can ensure your equipment is powered reliably, enhancing your overall setup. In today’s digital landscape, exploring new frontiers in content delivery can further elevate your professional image. Moreover, understanding color accuracy can significantly enhance the visual appeal of your video, ensuring you look your best on screen. Additionally, incorporating innovative portable restroom solutions can enhance the overall experience in outdoor events, reflecting your attention to detail and professionalism. Consider how good lighting can also create the perfect ambiance for backyard transformation essentials.
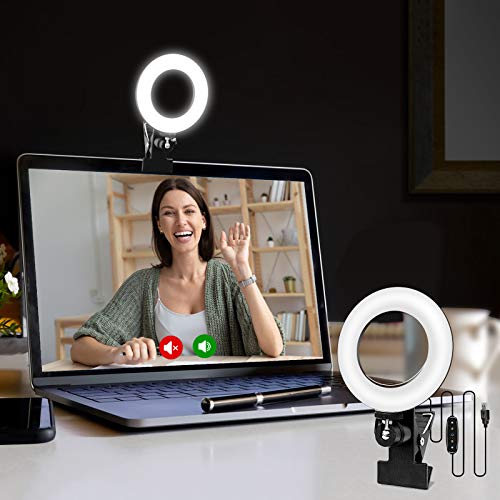
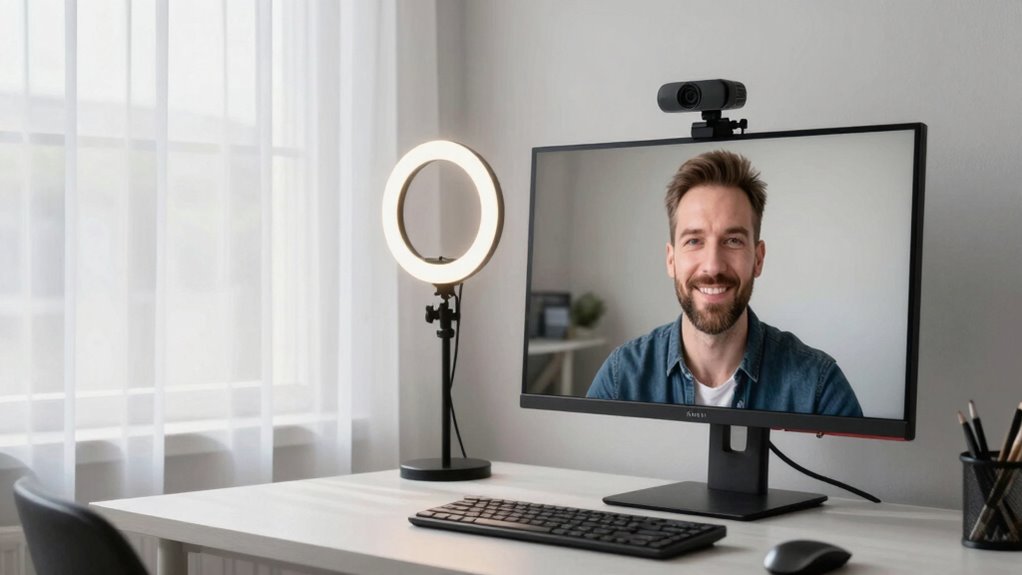
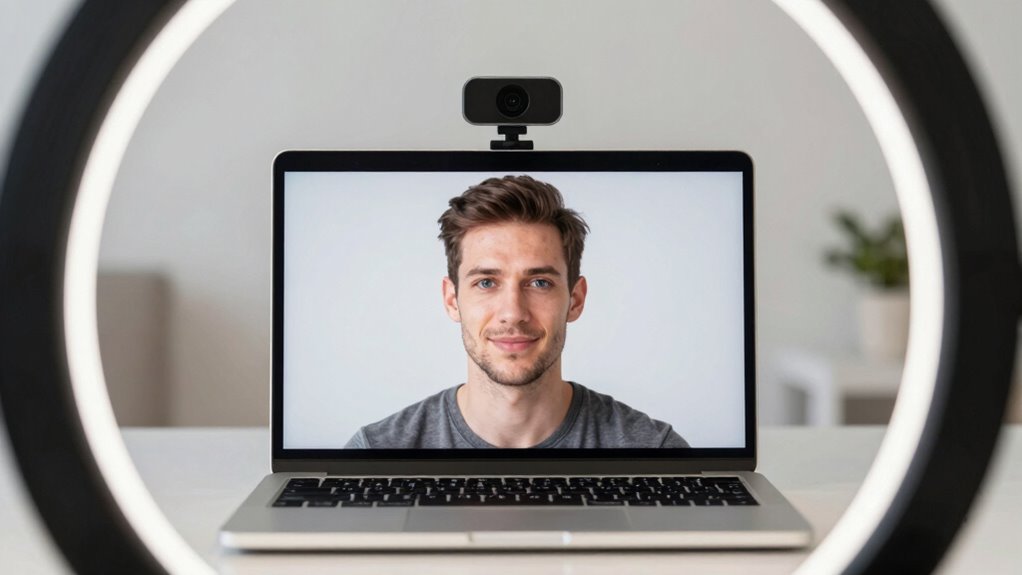
Cyezcor Video Conference Lighting Kit, Ring Light for Monitor Clip On,for Remote Working, Distance Learning,Zoom Call, Self Broadcasting and Live Streaming, Computer Laptop Video Conferencing
【ADJUSTABLE TEMPERATURE AND BRIGHTNESS】Our video conference lights have 3 color temperatures (white light/warm light/natural light) which are 3200k-6800k,…
As an affiliate, we earn on qualifying purchases.
As an affiliate, we earn on qualifying purchases.
Choose the Best Webcam for Your Needs
Sure! Here’s the revised content with the requested changes:
—
Selecting the right webcam depends on your specific needs and budget, so it’s important to take into account the features that matter most for your setup. To find the best fit, consider these factors:
- Video quality: Aim for at least 1080p resolution for sharp images.
- Camera ergonomics: Choose a webcam with adjustable angles and easy mounting options.
- Lens compatibility: Check if the webcam supports external lenses for enhanced focus or wider views.
- Connectivity: Opt for plug-and-play USB models for simple setup and compatibility. Additionally, ensure your streaming environment benefits from whole-home water system optimization, as clean water can influence the overall quality of your tech setup by reducing mineral buildup on equipment. Regular checks on toilet maintenance can help prevent plumbing issues that might disrupt your streaming experience.
Proper cabling solutions can also enhance your overall experience by providing additional tools for comfort and functionality.
—
Let me know if you need any more adjustments!

MOUNTDOG Softbox Lighting Kit, 2×19.7"x27.5" Photography Continuous Lighting System with 2pcs 85W 5700K E27 Socket LED Bulbs and Remote for Portrait Product Fashion Photography
【2x Softboxes】The two softboxes work perfectly together to soften the light, high reflectivity, and remove shadows to achieve…
As an affiliate, we earn on qualifying purchases.
As an affiliate, we earn on qualifying purchases.
Set Up Your Webcam for Focus and Framing
Once you’ve chosen a webcam that fits your needs, the next step is to set it up for ideal focus and framing. Adjust your camera angle so your face is centered and at eye level for a natural look. Use focus adjustment features to guarantee your image is sharp—test by moving slightly in front of the camera. Keep your head and shoulders within the frame, avoiding too much empty space. Proper focus and framing help you appear clear and professional on camera. Remember, user consent management is crucial to ensure your privacy while using video conferencing tools.
| Camera Angle | Focus Adjustment |
|---|---|
| Eye level | Use auto or manual focus |
| Slightly above | Fine-tune for sharpness |
| Slightly below | Maintain balanced framing |

YYNXSY 7X5FT Office Backdrop for Video Conference Backdrop with Window Background Screen for Video ConferencingChildren Taking Photography Studio Background Holiday Party Birthday Party YY-1005
We are proud to present the spectacular Window Backdrop, measuring an impressive 7X5 feet (2.1X1.5 metres)!
As an affiliate, we earn on qualifying purchases.
As an affiliate, we earn on qualifying purchases.
Use Natural Light Effectively for Flattering Video
To make the most of natural light, aim to record during daylight hours when the light is soft and even. Position yourself near a window so that the light hits your face evenly, avoiding harsh shadows. By strategically placing yourself and timing your shoots, you’ll achieve a flattering, professional look effortlessly. Additionally, consider using best lighting options to enhance your setup and ensure a polished appearance. Engaging in music therapy can also help create a calm atmosphere, further enhancing your video quality. Incorporating essential oils for respiratory health can help you maintain clear breathing during your recording sessions. Remember that understanding local wildlife can help you identify potential distractions outside your window that may affect your recording. To improve your overall presentation, focus on setting clear financial goals that can guide your content creation strategy.
Maximize Daylight Hours
Have you ever noticed how natural light can make your videos look more vibrant and inviting? To maximize daylight hours, plan your filming during the brightest parts of the day. Here are some tips:
- Position your desk near windows to take advantage of consistent sunlight.
- Use indoor plants to soften harsh shadows and add a natural glow to your background.
- Install acoustic panels to reflect light and reduce echo, enhancing overall clarity. Additionally, consider the importance of customer service ratings when choosing tools that can help improve your filming setup. This can create an environment that encourages creativity and productivity, leading to better video outcomes. Moreover, a well-lit space can significantly enhance your mental wellbeing, allowing for more focused and engaging content creation. Incorporating smart lifestyle tips can also elevate your video quality and overall presentation.
- Adjust your curtains or blinds to control light intensity without losing natural brightness.
Additionally, understanding safe movement basics can help you maintain good posture while filming, ensuring you look your best on camera.
Position Light Strategically
Positioning your light sources thoughtfully can make a significant difference in how flattering your videos appear. Proper lighting placement guarantees you maximize natural light and control shadows effectively. When using natural light, aim to face a window, but avoid direct sunlight to prevent harsh shadows. Use reflectors or white surfaces to bounce light onto your face, creating even illumination. This practice aligns with the idea that starting your week calmly can enhance productivity. Incorporating natural elements into your space can further elevate the ambiance and promote well-being. Additionally, ensuring good sleep hygiene can also improve your overall well-being, making you feel more energized and focused. Dogs, like the Border Collies, thrive on mental stimulation and physical activity, which can inspire you to maintain a vibrant and engaging environment. Adjust your position throughout the day to capitalize on changing light conditions. This strategic placement enhances shadow control, making your face look softer and more polished. Additionally, maintaining good indoor air quality can contribute to a more comfortable and focused filming environment.
| Lighting Technique | Effect |
|---|---|
| Facing window | Soft, natural glow |
| Using reflectors | Even shadow distribution |
| Positioning away from direct sunlight | Reduces harsh shadows |
| Adjusting throughout the day | Maintains flattering light |
Position Your Lighting for a Bright, Even Look
Achieving a bright, even look starts with carefully placing your lighting. Proper positioning guarantees consistent illumination and reduces shadows. First, position your lights at a 45-degree angle to your face to avoid harsh shadows. Second, choose lights with adjustable color temperature to match your environment and create a natural look. Third, use light diffusion—like softboxes or diffusers—to spread light evenly and soften any harshness. Fourth, avoid placing lights directly behind you or too close to your face, which can cause glare or uneven brightness. Focus on balancing the color temperature for warmth or coolness and diffusing the light for smooth, even coverage. This setup helps create a professional, well-lit appearance without turning your room into a studio.
Affordable Lighting Options to Brighten Your Setup
You don’t need expensive gear to brighten your setup; budget-friendly lighting options can do the trick. Simple DIY hacks, like using household items or inexpensive lamps, can make a big difference. With a few clever ideas, you can achieve professional-looking lighting without breaking the bank.
Budget-Friendly Lighting Solutions
Looking for ways to brighten your webcam setup without breaking the bank? You can achieve professional-looking results with affordable lighting options that enhance color grading and sound quality. Here are four budget-friendly solutions:
- Use natural light by positioning yourself near a window during the day.
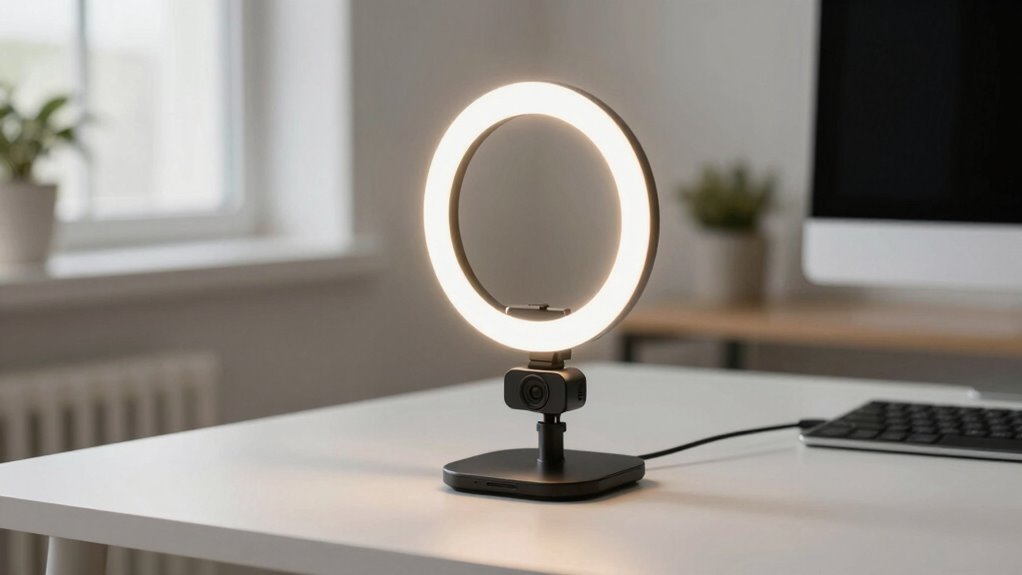
- Invest in affordable ring lights or clip-on LEDs for even illumination.
- DIY softboxes using household items like white sheets and desk lamps.
- Utilize reflectors made from white poster boards or foam boards to bounce light and reduce shadows.
These solutions make your setup brighter without expensive equipment, improving overall image clarity. Better lighting also helps with color grading, ensuring your video looks natural, and enhances sound quality by minimizing shadows and distractions.
DIY Lighting Hacks
If you want to upgrade your lighting without spending much, DIY hacks offer simple and effective solutions. Creative lighting ideas can transform your setup using everyday items and webcam accessories. For example, you can repurpose a desk lamp or clip-on light, attaching it to your monitor or shelf for focused illumination. Using white tissue paper or a sheer fabric over a light source softens the glow, reducing harsh shadows. You might also create a makeshift ring light with a circular mirror and LED strip lights. These hacks are affordable, easy to implement, and allow you to experiment with different lighting angles and intensities. By customizing your lighting with DIY solutions, you’ll achieve a clearer, more professional look without breaking the bank.
Fine-Tune Your Camera Settings for Clearer Video

Adjusting your camera settings can markedly improve the clarity and quality of your video. Start by tweaking the camera angle so your face is centered and well-lit, avoiding harsh shadows. Next, focus on settings like exposure and brightness to guarantee your face isn’t too dark or washed out. Adjust the sharpness to make details clearer without overdoing it. Don’t forget to check your microphone or audio input—better audio clarity makes your video more professional. Finally, test different resolutions and frame rates; higher settings often improve image quality but can strain your bandwidth. Remember, small adjustments can make a big difference in how sharp and professional your video appears.
Design a Background That Looks Casual Yet Professional
Creating a background that strikes the right balance between casual and professional setting is essential for a polished video appearance. Start by choosing background themes that are simple yet inviting, such as a tidy bookshelf, a plant, or framed artwork. Opt for neutral or muted color schemes to keep the focus on you without being distracting. Incorporate subtle textures or minimal decor to add personality without clutter. Avoid overly bright or bold colors that can divert attention. Keep the space organized and free of distractions to project professionalism. By selecting background themes and color schemes thoughtfully, you create an environment that feels approachable yet credible, making your viewers feel comfortable and confident in your presentation.
Troubleshoot Common Webcam and Lighting Problems
Webcam and lighting issues are common hurdles that can undermine the quality of your video setup, but many problems have straightforward solutions. If your virtual backgrounds glitch or your image looks grainy, try adjusting your lighting to reduce shadows and improve clarity. Poor audio quality often stems from microphone placement or background noise—use a dedicated mic and quiet your environment. If your webcam’s focus is off, clean the lens or update your drivers. For lighting problems, make sure your light source is soft, even, and positioned at eye level. If your face looks washed out or too dark, tweak your lighting angles or brightness settings. These simple fixes can dramatically enhance your video quality without turning your space into a studio.
Maintain a Consistent Look Across Devices
To guarantee your video appearances are professional and consistent, it’s essential to maintain a uniform look across all your devices. Start by applying basic color correction to match the color temperature and brightness settings on each camera. Use lighting accessories like diffusers or ring lights to create even, soft lighting that looks similar regardless of the device used. Adjust your webcams’ settings to ensure consistent exposure and white balance, so your skin tone and background stay uniform. Keep in mind that different devices may interpret colors differently, so test your setup across all your platforms beforehand. Regularly review your footage and make small adjustments to lighting accessories or camera settings to preserve a cohesive, polished appearance in every video.
Frequently Asked Questions
How Do I Reduce Glare or Reflections on My Face From Lighting?
To reduce glare and control reflections on your face, adjust your lighting placement so it’s diffused and not shining directly into your camera. Use soft, indirect light sources like lamps with shades or diffusers. Position lights at a slight angle rather than straight-on. Additionally, use matte makeup or setting spray to minimize shine. These glare reduction techniques help you look clear and professional without harsh reflections.
Can I Use Desk Lamps Instead of Professional Lighting Equipment?
Absolutely, you can use desk lamps instead of fancy professional lighting! With some DIY lighting hacks, you’ll turn your room into a budget-friendly studio. Position a desk lamp at the right angle, add a soft shade or paper to diffuse the light, and voilà—your face will glow without glare or reflections. It’s like turning a simple desk into a Hollywood set, all on a shoestring budget!
What Camera Settings Improve Video Quality in Low Light Conditions?
To improve video quality in low light, adjust your camera angle to maximize natural light and reduce shadows. Use a lens with a wider focality (lower focal length) to allow more light in, enhancing clarity. Increase your camera’s exposure or brightness settings, but avoid overexposing. Also, make certain your camera’s white balance is correctly set. These tweaks help your webcam perform better in dim environments, making your video clearer and more professional.
How Do I Prevent Shadows From Appearing on My Background?
To prevent shadows on your background, position your light source evenly and slightly in front of you to minimize harsh shadows. Use soft, diffused lighting to reduce background distraction and maintain color consistency. Keep your background simple and uncluttered, and guarantee your lighting setup doesn’t cast unwanted shadows. Adjust your camera angle and distance to enhance overall clarity, making your video look professional without turning your room into a studio.
Is It Necessary to Upgrade My Webcam for Better Lighting Results?
Upgrading your webcam isn’t always necessary for better lighting results, especially if your current camera supports good lighting compatibility. Focus on optimizing your lighting setup first, like using soft, diffused lights and avoiding harsh shadows. If your webcam is outdated or lacks clarity despite good lighting, then consider a webcam upgrade. Modern webcams with better sensors can enhance image quality, but proper lighting remains essential for the best results.
Conclusion
Just like a painter perfects their canvas, your webcam and lighting setup shape your professional image. By choosing the right equipment and positioning it well, you create a scene that’s both authentic and polished—no studio required. Remember, the goal is to shine naturally, like a star in your own story. With these tips, you’ll make every video call a memorable performance, turning your space into a stage where your presence truly stands out.